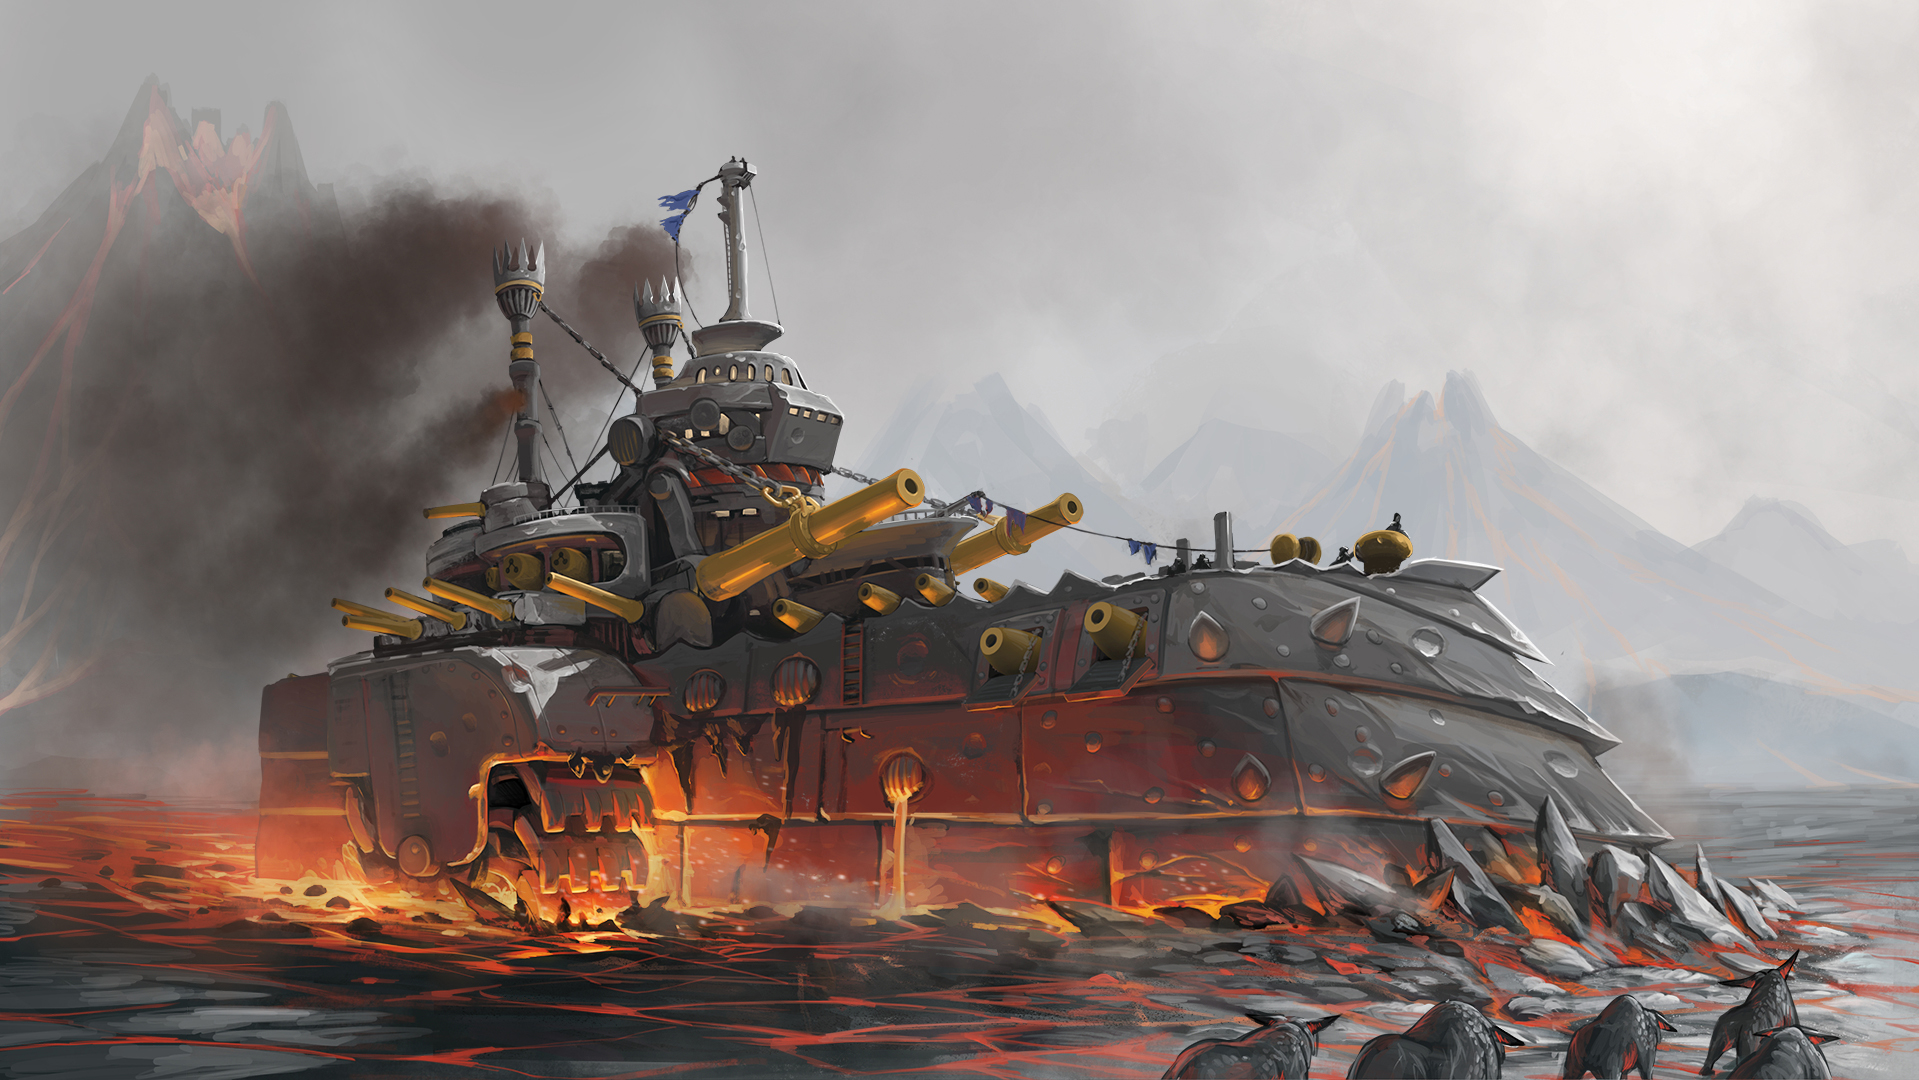
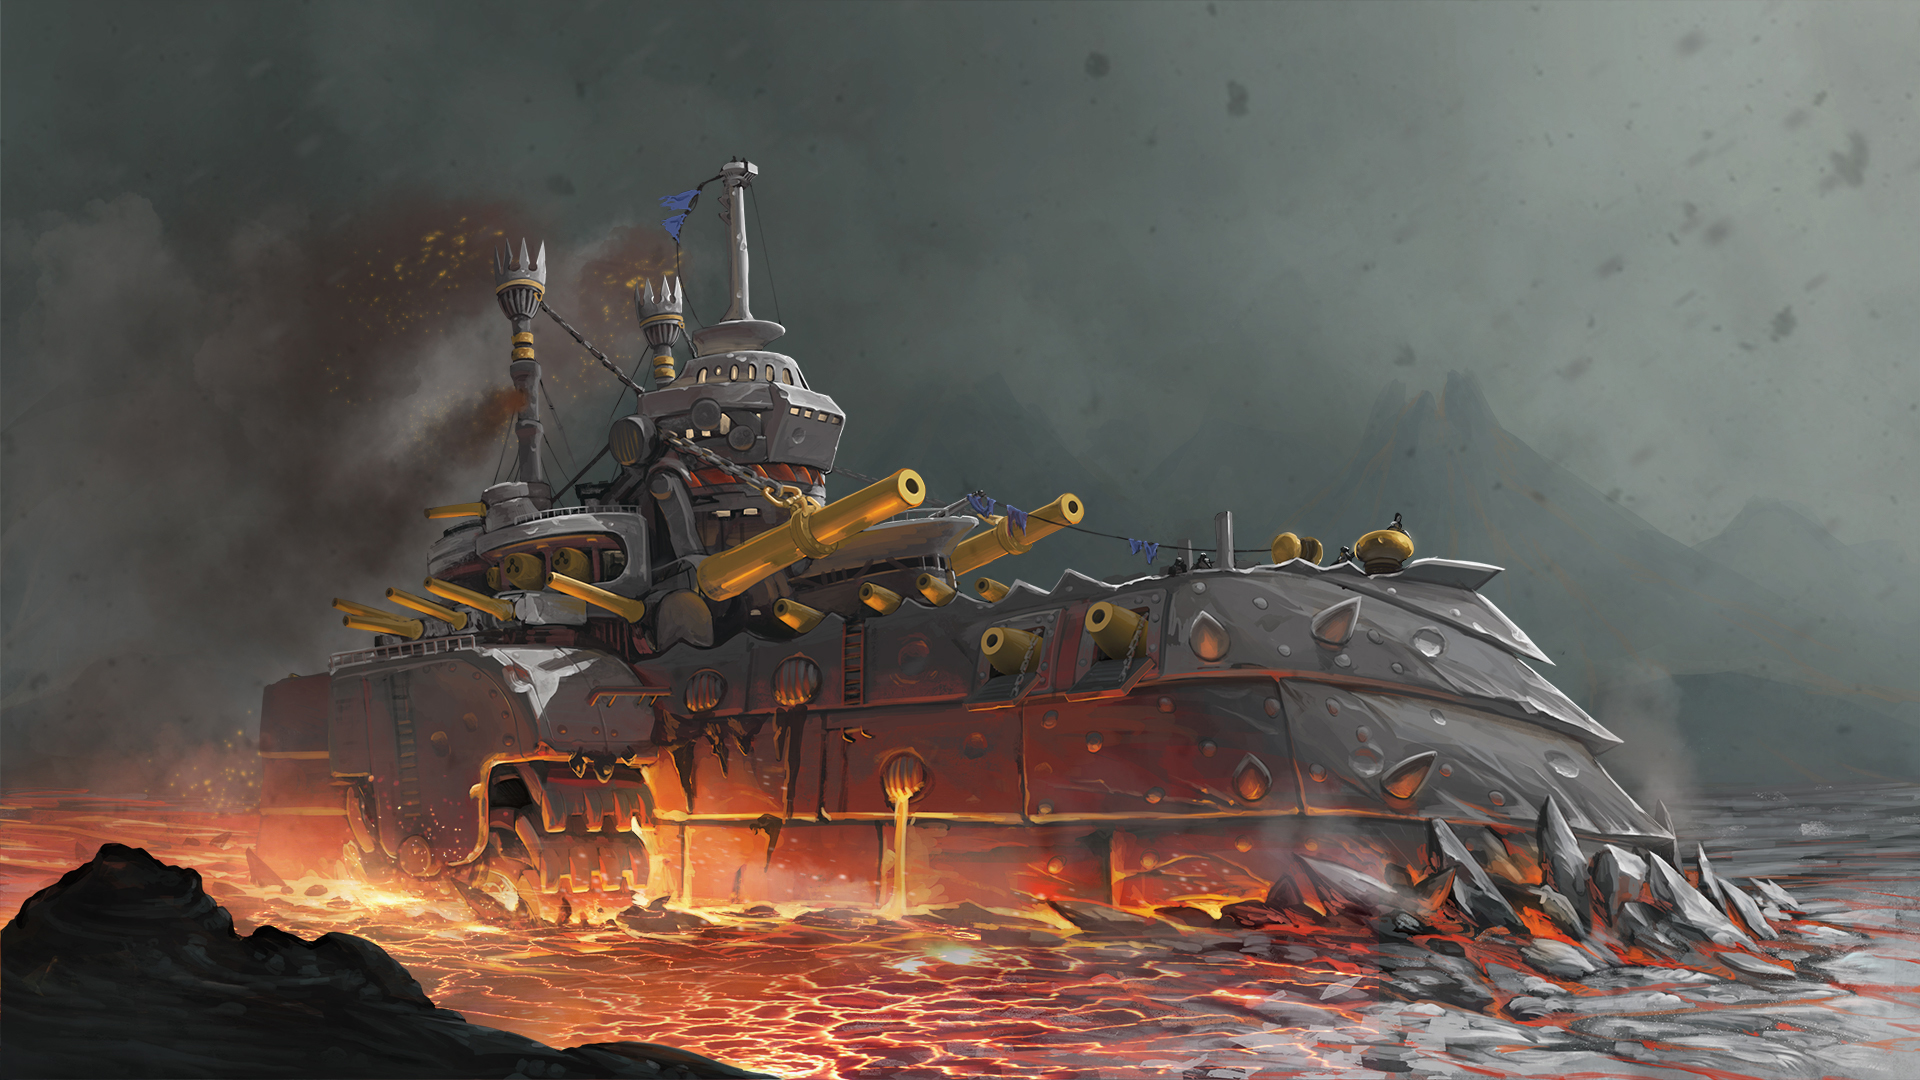
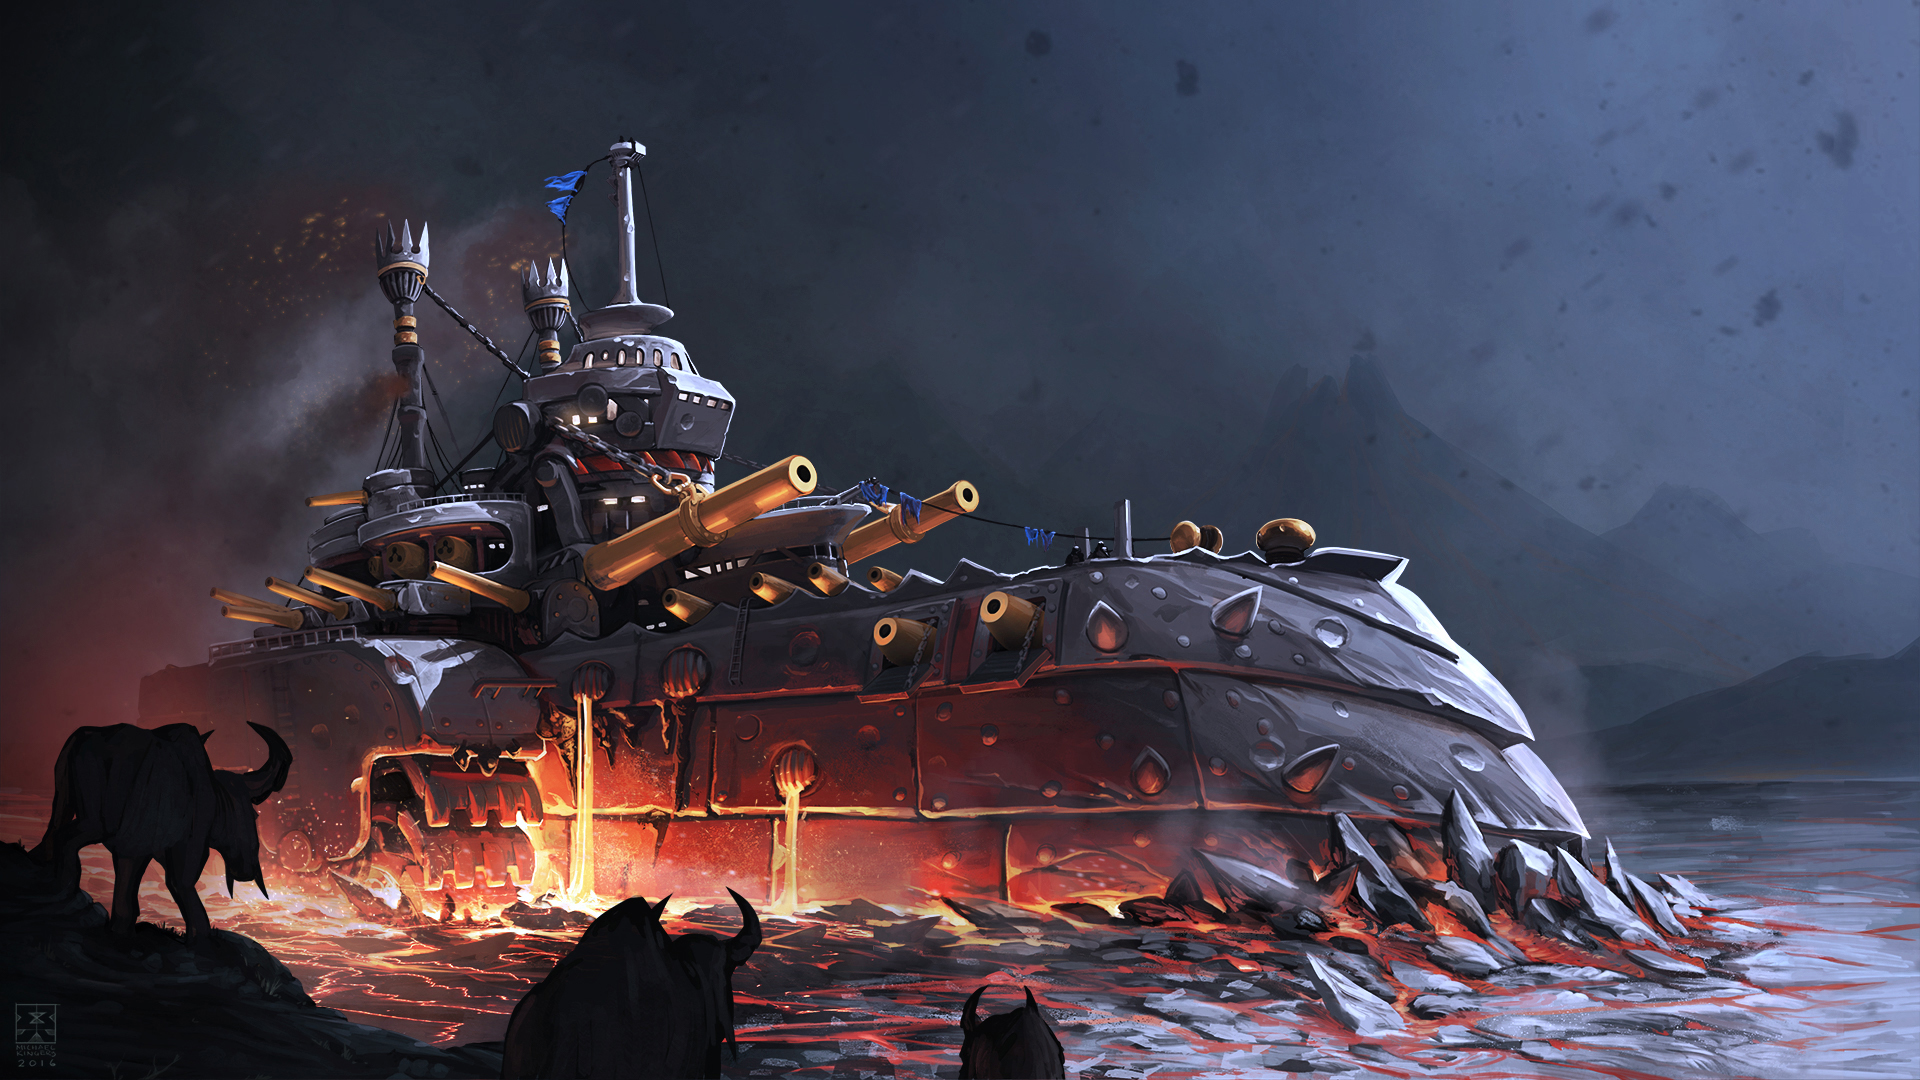
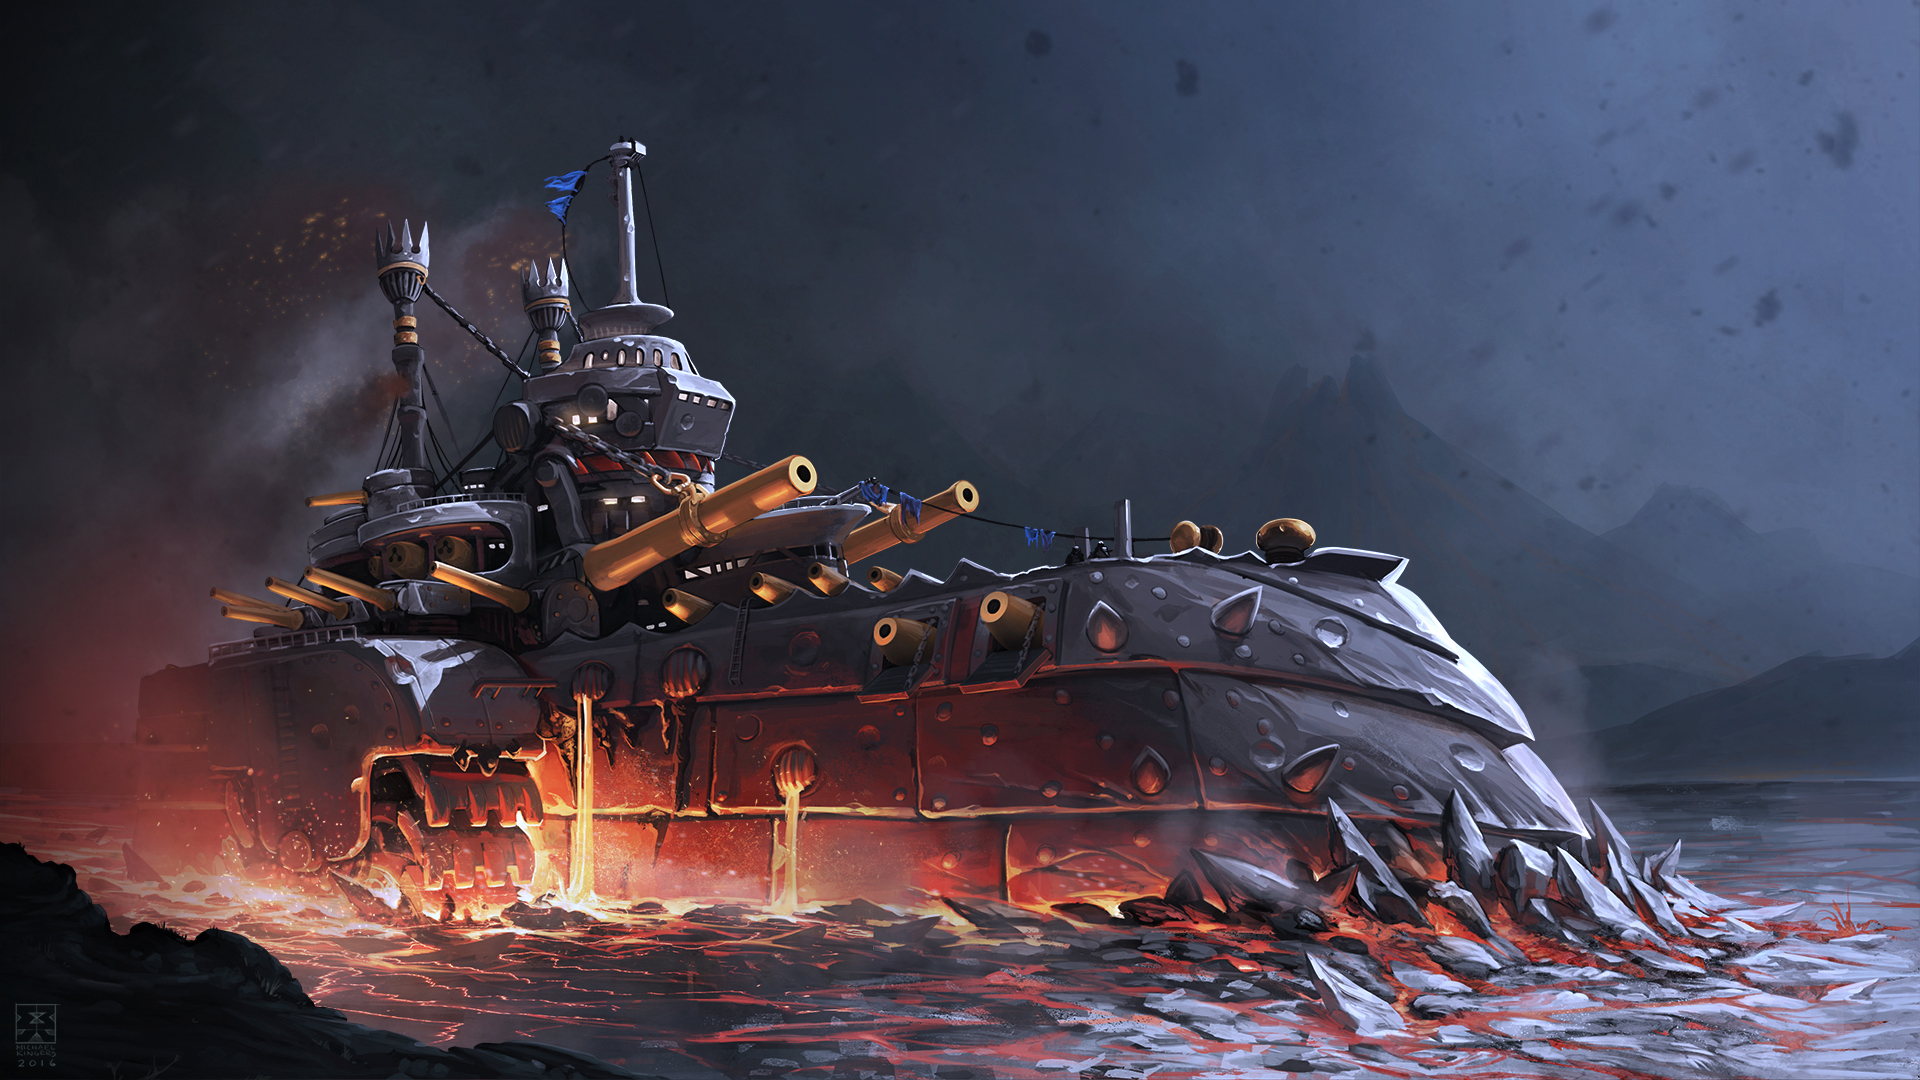
The S.S. Hermit Crab

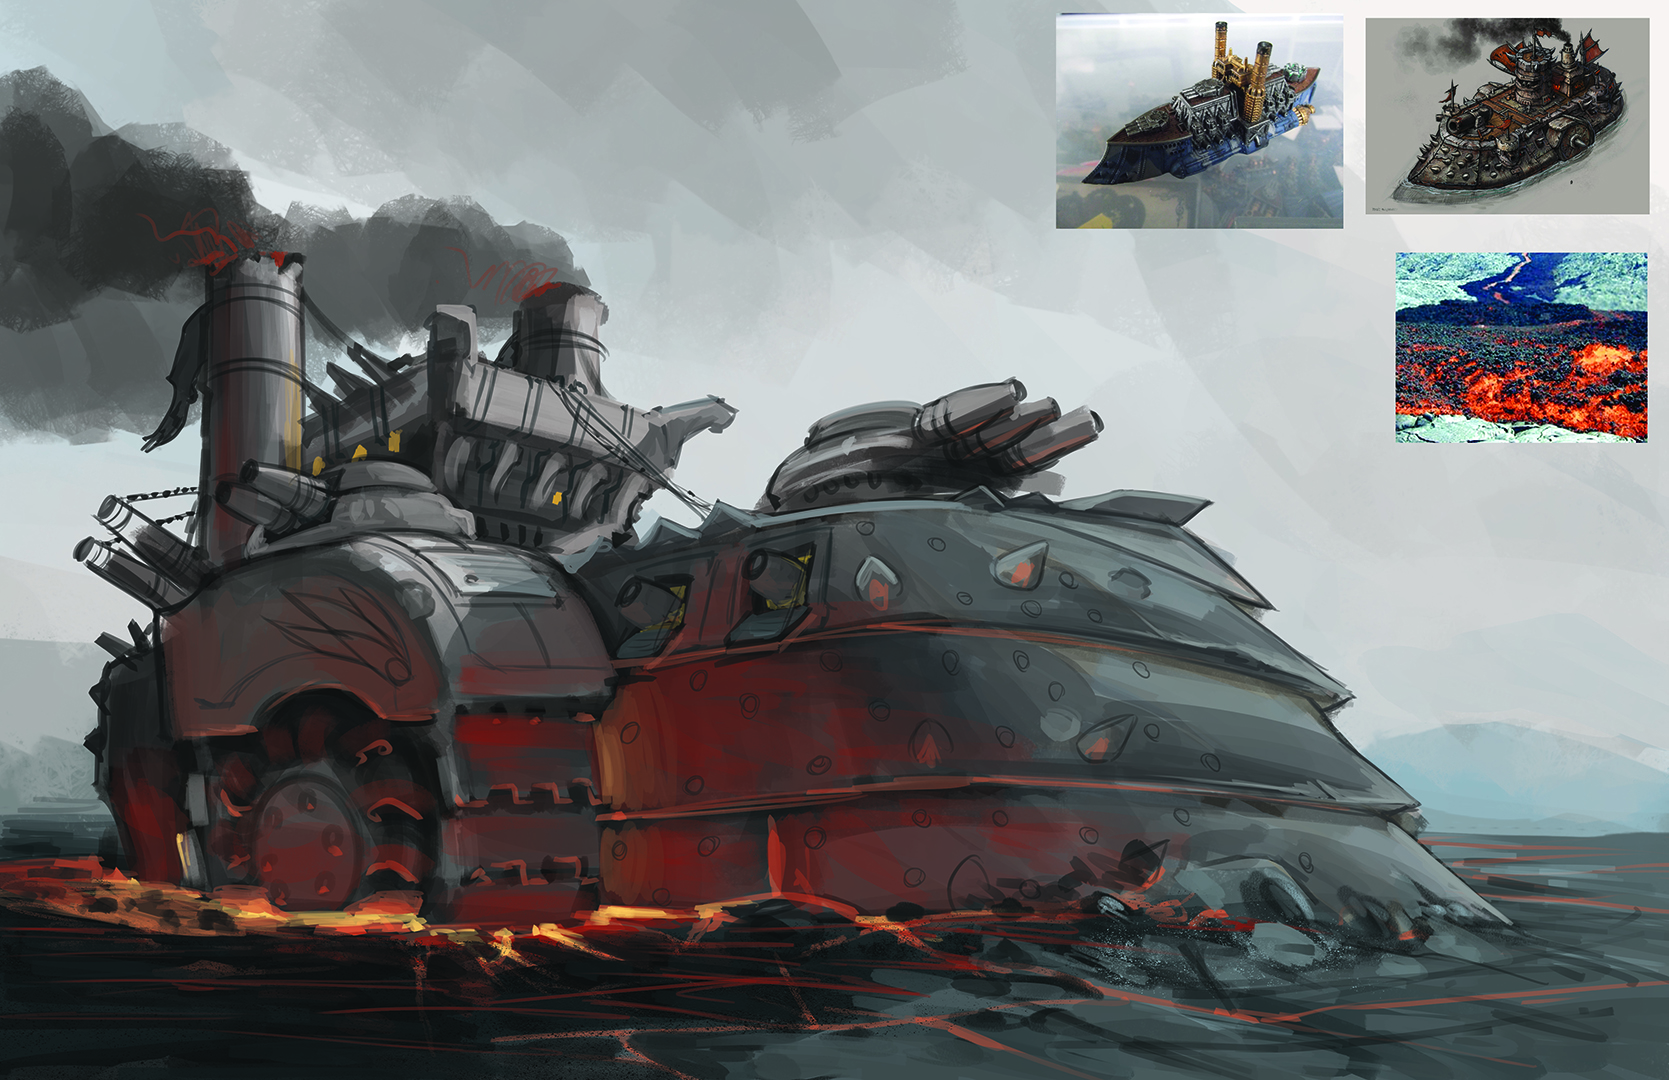
Ever since working on the 'wasteland scout' I've had a back-burner plan to work on a bunch of different vehicles that have been retrofitted with wheels. Was really nice being able to belt this out in 2 evenings on the couch without worrying to much about it..


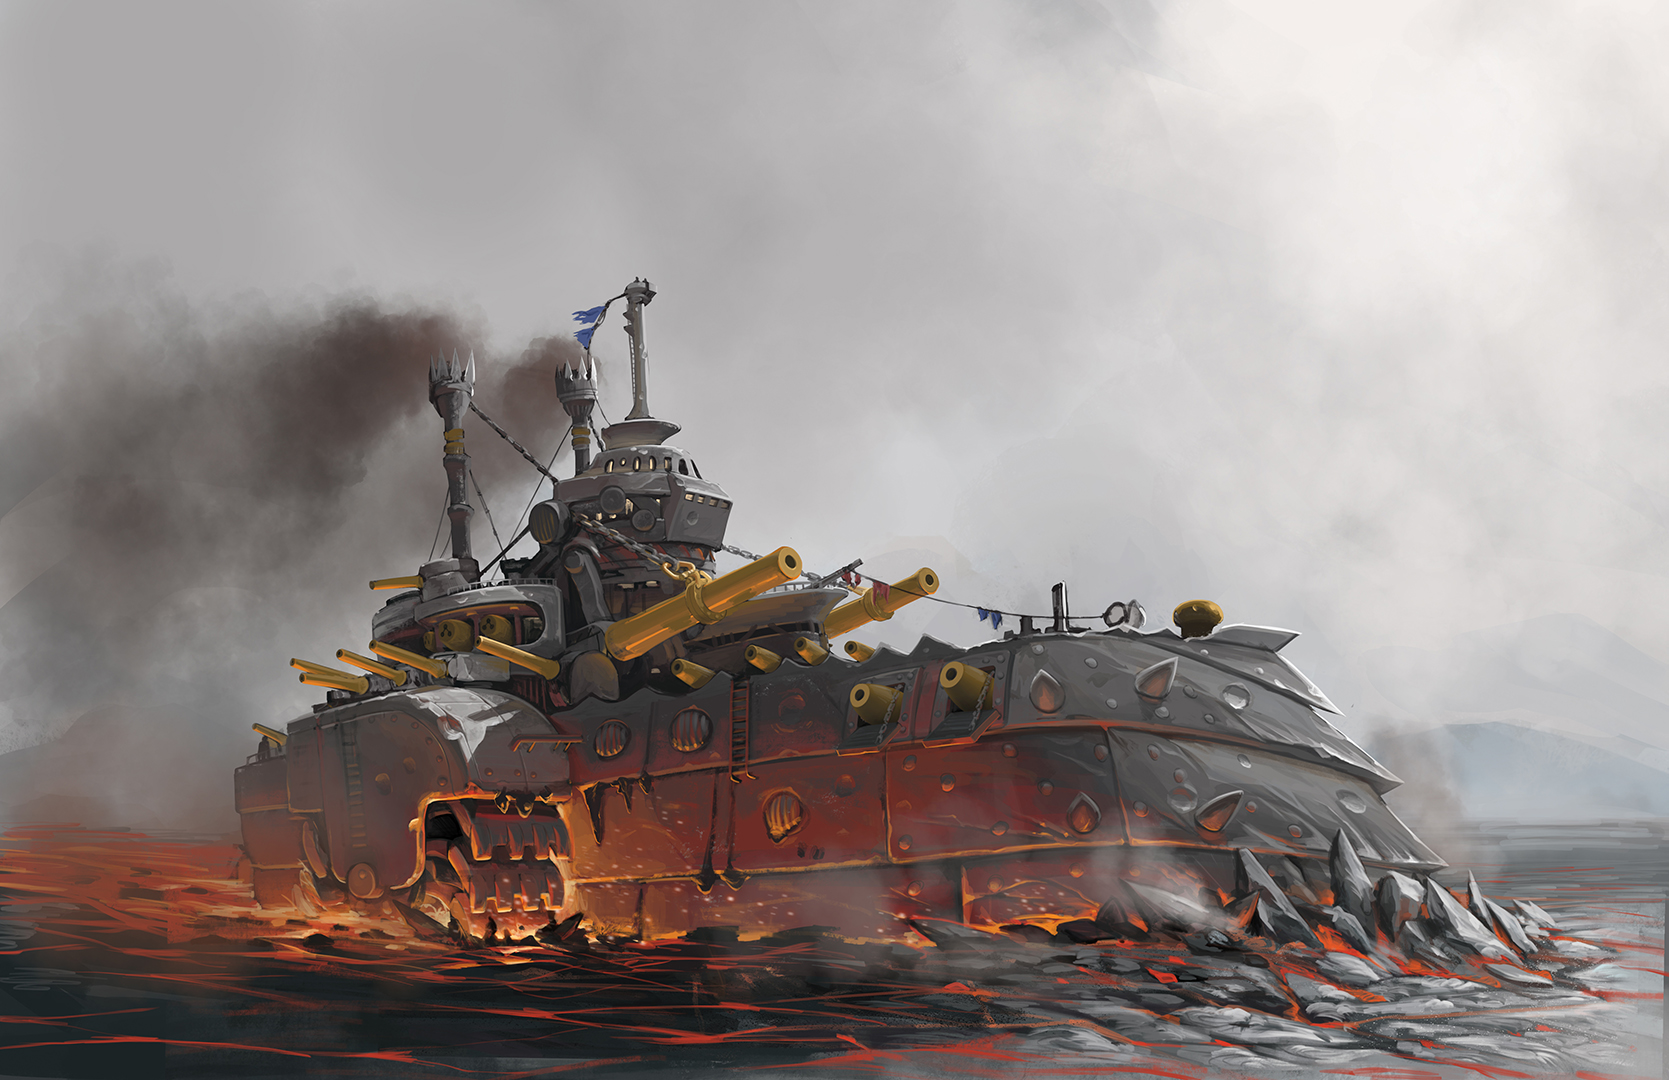
The Stone Breaker Flagship "Caldera"

The Caldera is the premier stone breaker currently seeing action in the northern territories. 

The Caldera acts as the spearhead for the navy's enforcement detachment. Capable of smashing through into coastal and tidal basins traditionally considered unassailable this breaker can clear a path at speed allowing for a dozen support vessels to follow in its cleared wake.

All cannons are elevated and loaded via mechanical assistance and can fire a variety of projectiles ranging from standard penetrators to explosive rounds that can be lobbed ahead to break up stonepack.

The ship is powered by a captive steam system for primary functions and arrays of sterling engines for auxiliary systems. A large central turbine around the collar of the superstructure also harnesses the strong convection current passed from the hull via heat pipes and acts to force air through the ship at high speeds.

The outer plating is created with an alchemic forging process that creates durable, insulated and most importantly, low reaction steel that molten rock cannot bind to.

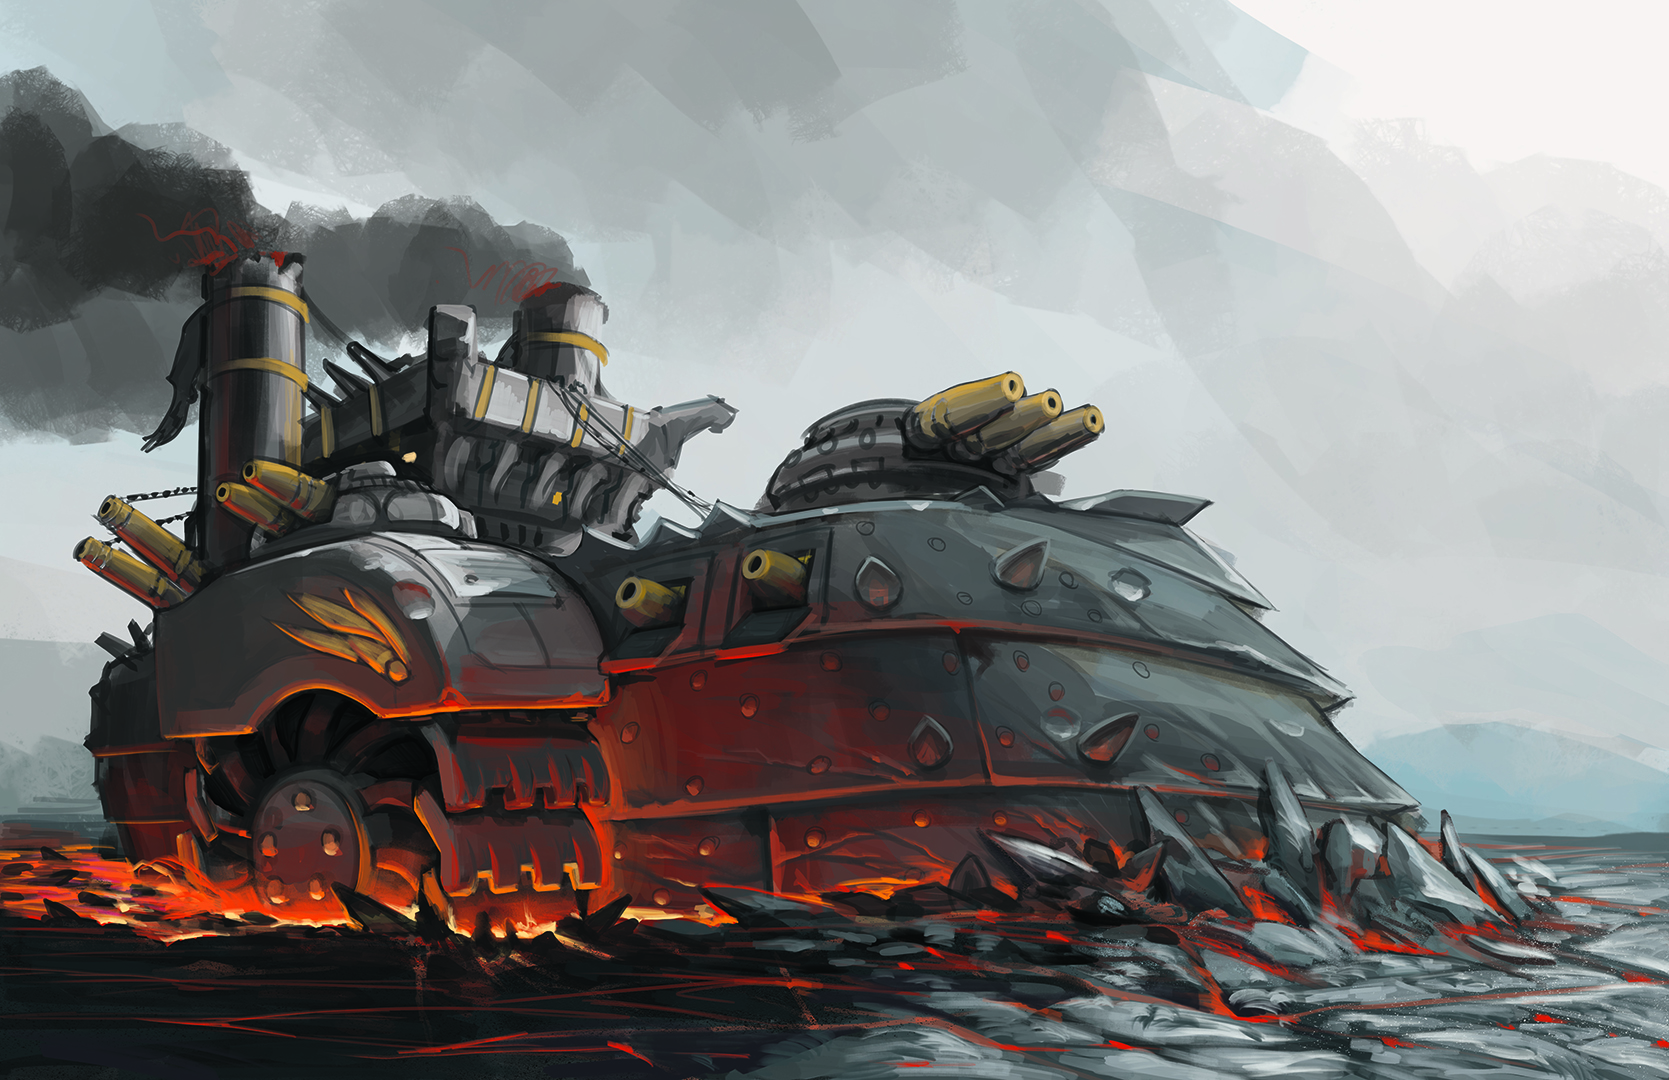
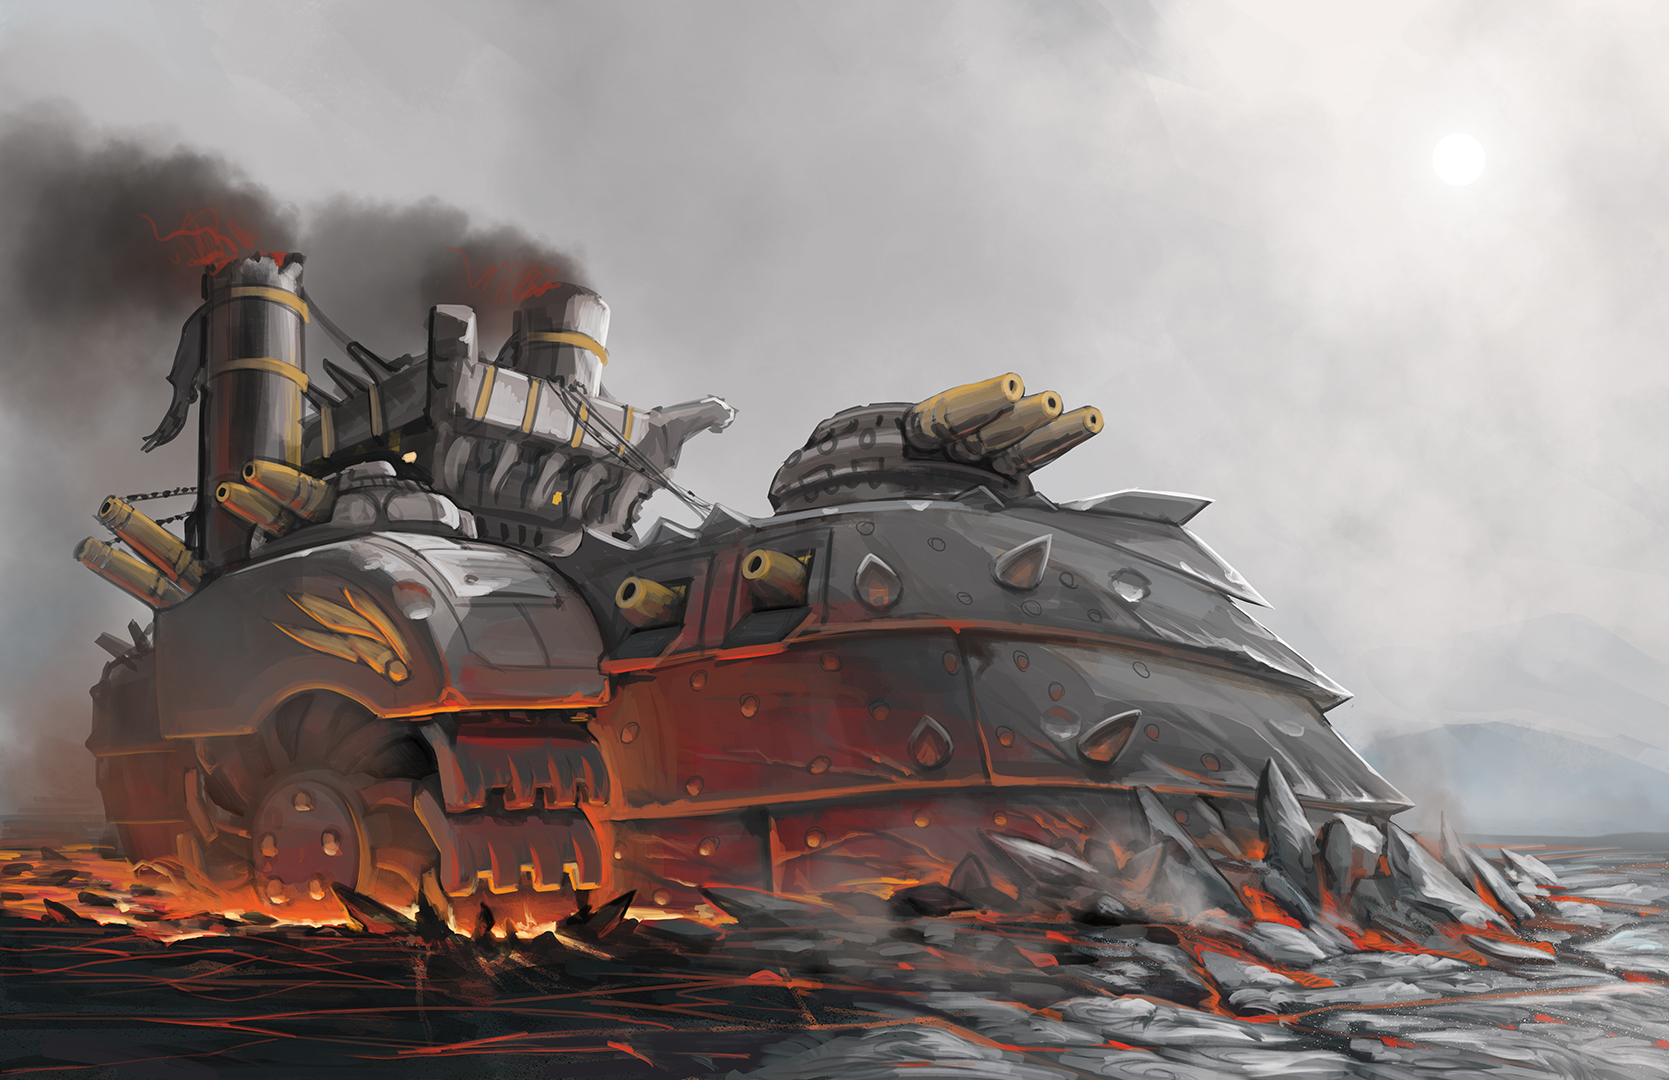
This started out as a sketch on the iPad Pro using Procreate. At around the halfway point, the limitations of Procreate for compositing and effects were becoming insurmountable so I transitioned to Photoshop for the remainder which helped the workflow but hurt my time given.

This piece started off in the daytime because I felt like night + lava was a bit overdone on my end. But with the coaxing from some friends, I decided that the more dynamic lighting would be the better decision. All of these changes just added to the time spent waffling around without clear final vision.

  • Be careful turning first-draft sketches into final pieces.
  • The iPad Pro is great, but working on a large piece in 15-minute chunks every few days for over a month is a fast way to lose your vision and perspective on a piece.

Vacation Plein Air Attempts

I had the blessing and curse of taking 2 vacations this year. It wasn't easy to ditch the family and have some time alone but every so often I'd drop a flash bang and get out to try my hand digital painting out in the wild courtesy of my iPad Pro and Procreate.

I never did this kind of stuff even back when I drew traditionally so I am pretty far behind the curve.

Bring Your Own Base is now on Steam Greenlight

Most of you probably know and follow me for my art, so It may come as a surprise that for the past year or so I've also been hard at work as a PM and Designer, making Bring Your Own Base with a small team of friends.

We've been in the planning stages for upwards of 2 years, but work only truly began last October when we got a local prototyping grant that gave us enough runway to hire 2 coders full time. Since then we've carved out a solid, playable alpha build after many prototype iterations, playtests and redesigns.

We still have a long way to go. ALL of the art is currently placeholder and there are still a lot of core features that we haven't started work on yet. Our goal now is to get Greenlit, find a community and shop the rest of production around to a publisher or investor who believes in the potential of our team and BYOB.

If you are interested, we'd love your support and following as we try to push this boulder forward!

Clark

After the 30th reading of Dr Seuss's "One Fish Two Fish Red Fish Blue Fish" the creepiness of the last page's image compelled me to render my own take on things. I kept my illustration pretty consistent to the book's image but ramped up the creepy by a few notches to help things along. Most of the work was done in Procreate on the iPad Pro and then finished in Photoshop.

The subject and style aren't really in my wheelhouse so I was interested in how my process would change working primarily on the iPad. Due to all the layer blending styles and Procreate's terrible non-existant folder and masking options the end result included 30-40 layers with very little structure or cleanup - and no easy path to flatten.

LPT: Using Photoshop's Image Generator with Unreal Engine

Just a quick pro tip to anybody making assets (Especially UI) for Unreal and exporting them with Photoshop Generator. Unless you specify a .png quality level, Photoshop will automatically compress the files as much as possible up to and including indexed 8bit color mode.

It turns out that Unreal can't import alpha channels from indexed .png files - so to make everything work you will need to manually mark each layer to export at full quality. To do this, ammend a "32" to the end of the layer asset.

AssetLayer.png > AssetLayer.png32

My Photoshop to Spine asset Pipeline

A few months ago I picked up work at JB Games making art for Grave Danger. I had never used Spine before or animated anything really since a few classes in After Effects about 10 years ago so was coming into everything pretty green.

One element that I needed to create a workaround for in Spine was how the Spine exporter script used Groups to signify "Skins". This meant essentially that I couldn't use layers while painting different sprites because to export you would have to flatten everything.

One possible workaround I considered was turning each sprite (asset) into a smart object. This would let me have as many layers as I wanted but still allow the Spine exporter to read the 'flat' layer correctly. The problem with this method is that when you are working on a character comprised out of 20 smart objects, your painting flow gets really broken up when you can't quickly jump around adding and tweaking all elements at once.

Below is my solution. It could be wrong, it could be unnecessary because I missed something - or because Spine has since gotten an update - however, It worked out really well for me here and in a few other odd pipelines for the project.

Hopefully, somebody will find it helpful!
BYOB - SMG Concept

A big goal of ours for these weapons was to create something that was 80% plausible and 20% pure fantasy. In this way, all the weapons have proper alignments in regards to ammo feeding and ejecting however the reciprocating actions on top and moving magazines and magazine wells are purely there as juice for animation.

The SMG's secondary is a fairly slow moving missile that can help the player zone enemies at medium range or to blast down a few walls when need be.


Keep up to date with our progress atwww.bringyourownbase.com andhttps://twitter.com/anvilheadstudio

BYOB - Rifle Concept Art

Ever since I helped cofound Anvilhead Studios, a year or two ago I had to keep it on a back burner and devote what limited focus I could spare towards business dev and game design / project management.

Recently, due to some very generous friends, family, wife and a great state grant program I've been able to transition into a temporary full-time capacity to help us accelerate towards the launch of Bring Your Own Base's (BYOB) MVP release.

The default rifle shown here is one of the first pieces created in an attempt to polish our game up enough to stand out, but not so much that we run out of money and find ourselves without a solid game foundation - a tricky balancing act.

Keep up to date with our progress at www.bringyourownbase.com and https://twitter.com/anvilheadstudio